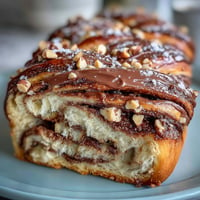
 Save
Save My friend Sarah brought a box of these to a spring potluck, and I watched them disappear in minutes—people kept sneaking back for just one more. The moment I bit into one, that warm cinnamon-spiced center against the cool cream cheese coating had me texting her for the recipe before I'd even swallowed. There's something magical about how a humble carrot cake gets transformed into something elegant and bite-sized, the kind of treat that makes you feel fancy without the fuss. Now they're my go-to when I need to impress without spending all day in the kitchen.
I'll never forget baking these for my daughter's book club—she was nervous about hosting, and I suggested these truffles as a way to feel more confident. Watching her plate them up in a little pyramid on her best dish, the way her friends lit up when they tasted them, she stood a little taller. That's when I realized these aren't just desserts; they're tiny edible compliments you get to hand out.
Ingredients
- Finely grated carrots (1 cup / 130 g): Use the smallest holes on your box grater and pat them dry with paper towels—excess moisture will make your mixture too wet and they won't hold their shape during rolling.
- Graham crackers or digestive biscuits (1 cup / 120 g, finely crushed): Crush them until they're like fine sand, not chunky bits, so they bind everything together smoothly.
- Toasted walnuts or pecans (1/2 cup / 60 g, finely chopped): Toast them yourself if you can—those few minutes in a dry skillet wake up their flavor and make the whole batch taste more intentional.
- Cream cheese, softened (1/2 cup / 120 g): Leave it on the counter for at least 20 minutes before mixing, or it'll fight you every step of the way and create lumpy spots.
- Granulated sugar (1/3 cup / 65 g): This sweetens the base without overpowering the spices, keeping everything balanced and sophisticated.
- Vanilla extract (1 tsp): Don't skip this—it's what makes people say they can taste warmth in a tiny truffle.
- Ground cinnamon (1/2 tsp) and nutmeg (1/4 tsp): These are the soul of carrot cake, and measuring them carefully keeps you from going too heavy-handed.
- White chocolate, chopped (8 oz / 225 g): Quality matters here since it's your visible coating—avoid the candy melts if you can, they taste waxy next to fresh cream cheese.
- Butter and cream cheese for coating (2 tbsp butter + 3 oz cream cheese): These two together prevent the white chocolate from setting hard and glossy, keeping that silky texture that makes people pause mid-conversation.
Tired of Takeout? 🥡
Get 10 meals you can make faster than delivery arrives. Seriously.
One email. No spam. Unsubscribe anytime.
Instructions
- Gather and prepare your ingredients:
- Before you start mixing, have everything ready and at room temperature—this is especially true for the cream cheese in the base, which should be soft enough to blend smoothly without lumps.
- Build the truffle base:
- Combine the carrots, crushed biscuits, nuts, softened cream cheese, sugar, vanilla, cinnamon, nutmeg, and salt in a bowl and mix until you get a dense, sticky dough that holds together when squeezed. This should take just a few minutes of stirring, and you'll feel it transform from separate ingredients into something cohesive.
- Roll into uniform balls:
- Use a small cookie scoop or spoon to portion out tablespoon-sized amounts, then roll each one between your palms until it's smooth and round—your hands will warm the mixture just enough to help it hold its shape. This tactile part is oddly meditative, and even-sized truffles look more professional when they're plated later.
- Give them their first chill:
- Arrange your rolled truffles on a parchment-lined tray and slide them into the fridge for at least an hour—they'll firm up enough to handle a dip without falling apart into the coating.
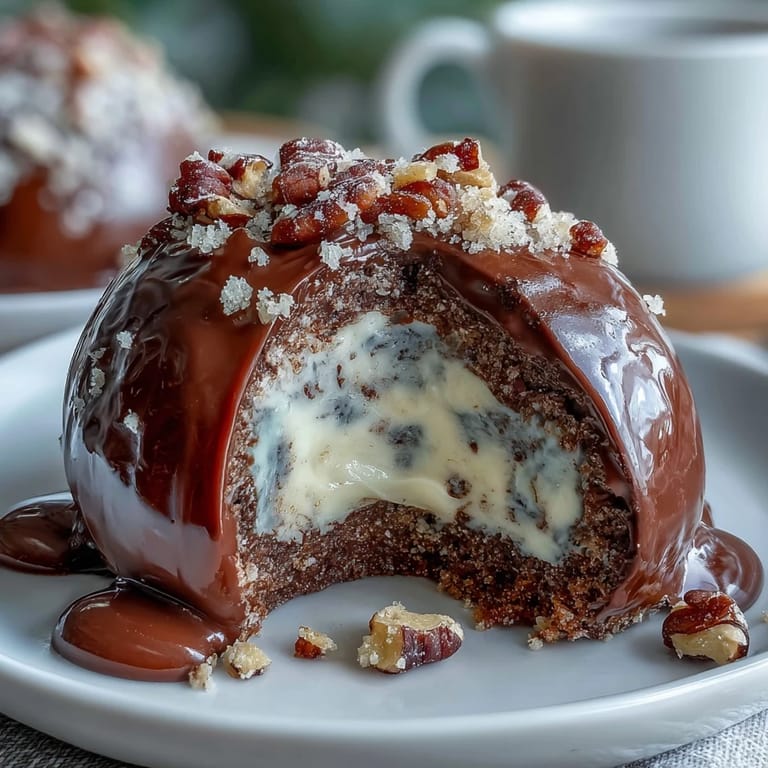
- Create the silky coating:
- Melt the white chocolate using a double boiler or a heat-safe bowl set over simmering water, stirring occasionally until it's completely smooth. Once melted and off the heat, whisk in the softened cream cheese and butter until you have something glossy and pourable, with no streaks of white chocolate visible.
- Dip with intention:
- Working with chilled truffles, use a fork or dipping tool to coat each one in the cream cheese mixture, letting the excess drip back into the bowl before setting it on your tray. If the coating starts to thicken while you work, set the bowl back over warm water for 30 seconds to loosen it up again.
- Add your finishing touch (optional):
- While the coating is still wet, sprinkle on chopped nuts, colored sprinkles, or coconut shreds if you want—this is your chance to make them look like you spent all day on them.
- Final chill for set coating:
- Refrigerate the finished truffles for at least 30 minutes so the coating firms up and looks polished and intentional.
 Save
Save There's a moment when you pull these truffles from the fridge and they're finally set, catching the light with that cream cheese coating, and you realize you've created something that tastes like spring in a bite. That moment reminded me why I bake—not for perfection, but for the small magic of turning simple ingredients into something people remember.
Flavor Variations That Work
Once you've made these once, you'll start imagining what else could hide in that truffle center. I've added chopped dried pineapple or raisins to make them slightly fruitier, which plays beautifully with the cream cheese coating—about 2 tablespoons stirred into the mixture does the trick without making it soggy. You could also swap half the walnuts for shredded coconut, or add a tiny pinch of ginger for something warmer and more complex tasting.
Making Them Ahead
The best part about these truffles is that you can make them days before you actually need them, which is the kind of dinner party hack that makes you look organized. Store them in an airtight container in the fridge for up to five days, and they'll taste just as fresh on day five as they do on day one, though they'll be a bit firmer—which some people actually prefer. If you're planning far ahead, you can even freeze the rolled-but-uncoated truffles for up to two weeks, then thaw them in the fridge before dipping when you're ready.
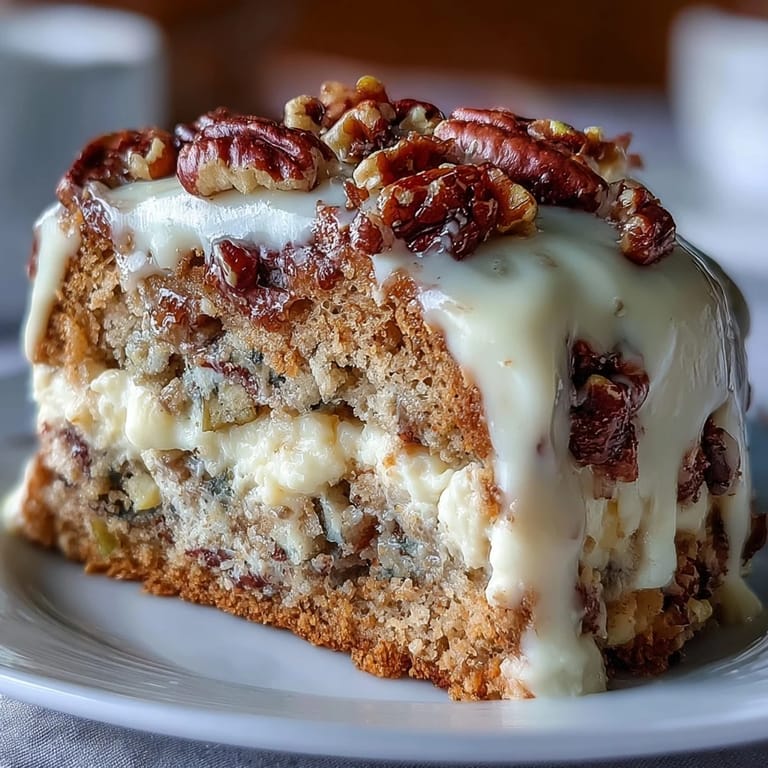
Serving Them Like You Mean It
These truffles deserve to be plated thoughtfully, whether that's in a small pyramid on a dessert plate or arranged in a box like a gift to yourself. I've found they shine alongside something elegant like sparkling wine or a warm cup of chai tea, which echoes the spice notes without competing for attention. They're small enough that people feel comfortable having two, which is the mark of a well-designed dessert—it's indulgent without being heavy.
- Arrange them on a platter about 30 minutes before serving so they're cool but not ice-cold, which lets the flavor come through.
- Keep extras refrigerated and bring them out as people linger over coffee, creating those second moments of pleasure.
- If you're gifting them, layer them in a small box with parchment paper between rows so they don't stick together.
 Save
Save These carrot cake truffles have become my answer to the question, "What can I bring?" because they're fancy without fuss, and they always remind people why they loved carrot cake in the first place. Make them once, and you'll understand why my friend Sarah keeps a batch in her fridge at all times.
Recipe FAQs
- → What gives these treats their moist texture?
Finely grated carrots combined with softened cream cheese create a moist and tender base inside each truffle.
- → Can I substitute the nuts in the base?
Yes, toasted walnuts or pecans can be interchanged depending on preference or availability.
- → How is the creamy coating made smooth?
Melting white chocolate and whisking in softened cream cheese and butter results in a glossy, smooth coating.
- → What chill times are needed for best results?
Chilling the shaped balls for at least an hour firms them before coating; after dipping, another 30 minutes lets the coating set properly.
- → Are there options for garnishing the truffles?
Yes, finely chopped nuts, colored sprinkles, or shredded coconut add texture and visual appeal.
- → How can I make these suitable for gluten-sensitive guests?
Using gluten-free biscuits instead of regular crushed biscuits makes them gluten-friendly.