Save
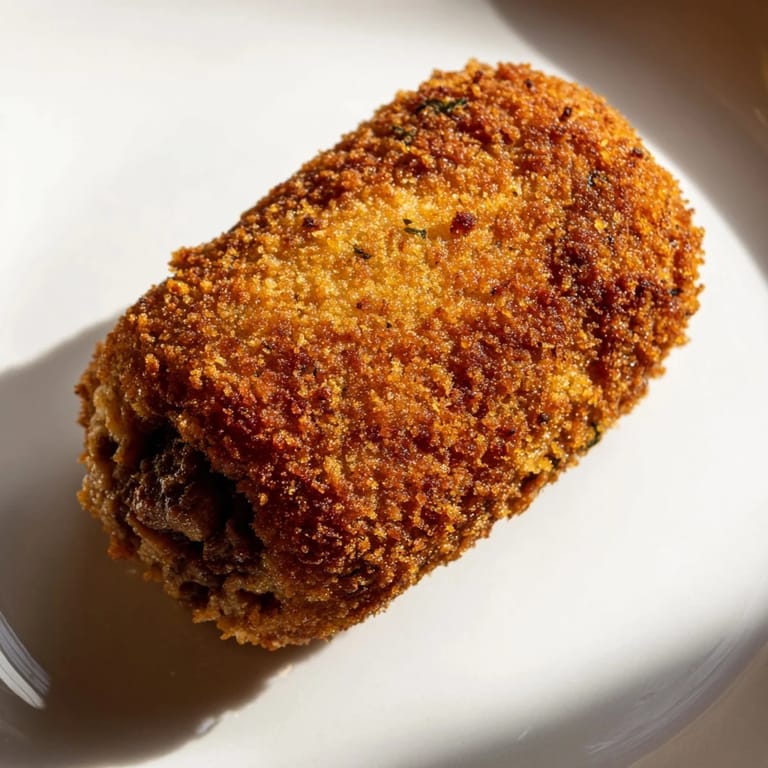
Save My first Dutch croquette arrived on a chipped ceramic plate at a tiny snack bar in Amsterdam, still steaming and crackling with heat. I bit through that golden crust and found myself in a moment of pure comfort—the filling was impossibly creamy, studded with tender beef that had simmered for hours until it surrendered completely. Years later, I realized I wasn't just craving the taste; I was chasing that feeling of discovering something so simple yet so perfectly balanced. Now, whenever I make them at home, I understand why croquettes have been a Dutch staple for generations—they're an exercise in restraint and technique that yields something genuinely special.
I made these for friends who'd never tried a proper croquette, and watching their faces when they broke through that crust was worth every minute of prep work. Someone immediately asked for the recipe, and someone else kept reaching for another one until the plate was empty. That's when I knew I'd gotten it right—when a dish becomes the memory people keep talking about.
Ingredients
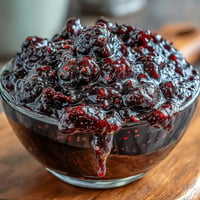
- Stewing beef (250g): Chuck or similar tough cuts actually become your friend here—all those connective tissues dissolve into gelatin during the long simmer, creating that silky mouthfeel that cheap croquettes never achieve.
- Beef broth (500ml): Use real broth if you can; the difference between homemade and boxed is noticeable in the final filling, which should taste deeply savory, not one-dimensional.
- Bay leaf: A small gesture that adds subtle depth without announcing itself—this is what separates good ragout from forgettable filling.
- Onion (1 small, finely chopped): Cutting it small ensures it disappears into the filling rather than appearing as visible chunks that break the texture.
- Butter for the filling (40g) and beef sauté (1 tbsp): Never skip this or substitute it with oil—butter is what gives the roux its clean, classic flavor.
- All-purpose flour (40g): This amount creates a roux that thickens without becoming gluey or pasty.
- Whole milk (150ml): Full-fat milk matters here; it creates the creamy suspension that makes filling stick together when it sets.
- Ground nutmeg (1/2 tsp): A whisper of warmth—too much and you've turned savory into dessert.
- Fresh parsley (1 tbsp, chopped): Optional but recommended; it adds a bright, fresh note that plays beautifully against the richness.
- Eggs (2 large): These are your adhesive—beat them until completely uniform so the breadcrumbs stick evenly without any bare spots.
- Fine dry breadcrumbs (150g): Dutch paneermeel is traditional, but quality panko works beautifully if that's what you have.
- Neutral oil for frying: Keep a thermometer nearby; the temperature is non-negotiable if you want a crispy crust without a greasy interior.
Tired of Takeout? 🥡
Get 10 meals you can make faster than delivery arrives. Seriously.
One email. No spam. Unsubscribe anytime.
Instructions
- Start the beef:
- Bring your beef, broth, and bay leaf to a boil, then let it settle into a gentle simmer. You're looking for barely-moving bubbles—aggressive heat will make the meat tough and stringy instead of tender and yielding. After about an hour, the beef should shred with barely any pressure.
- Build the base:
- Sauté your onion in that tablespoon of butter until it's soft and starting to turn sweet. Add your shredded beef and let everything get to know each other for a minute or two before you taste and adjust your salt and pepper.
- Make the roux:
- Melt your 40g of butter, add flour, and stir constantly for two full minutes—this cooks out the floury taste and prevents grittiness in your final filling. The roux should look like wet sand and smell toasty.
- Add the liquids:
- Pour in your reserved broth and milk very slowly, whisking the entire time. You'll feel the moment it shifts from lumpy to smooth—that satisfying transformation is your signal you're doing this right.
- Combine and season:
- Fold in the beef mixture, nutmeg, and parsley. Taste it now, before it sets—adjust salt and pepper until it tastes like the most comforting thing you've ever wanted to eat. The filling should move like very thick pudding.
- Chill the filling:
- Spread it in a shallow dish, cover it directly with plastic wrap to prevent a skin from forming, and refrigerate for at least an hour. This step matters—warm filling will fall apart when you try to shape it.
- Shape with cold hands:
- Wet your hands slightly so the filling doesn't stick to your skin, then form each portion into a cylinder about 8cm long. If it's falling apart, it needs more chilling time.
- Set up your breading station:
- Arrange flour, beaten eggs, and breadcrumbs in three separate bowls. Coat each croquette methodically—flour first, then egg, then breadcrumbs—and for extra crispiness, repeat the egg and breadcrumb step on the second pass.
- Heat the oil:
- Bring your oil to exactly 180°C (350°F); use a thermometer because guessing leads to either greasy croquettes or ones with pale, limp crusts. Let it reach temperature and stay there—do not skip this step.
- Fry in batches:
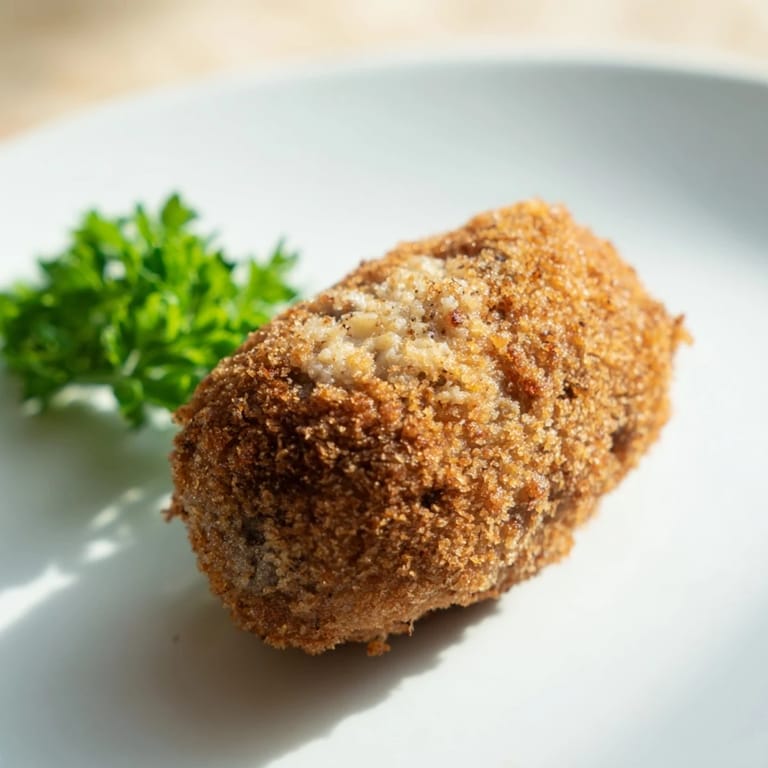
- Lower croquettes gently into the oil—they should sizzle immediately but not violently. Fry for three to four minutes, watching for that deep golden-brown color that signals crispness and tells you the inside is hot through.
- Drain and serve:
- Use a slotted spoon to transfer them to paper towels, where they'll drain and stay crispy. Serve them hot with mustard and feel the satisfaction of having made something genuinely worth eating.
 Save
Save A friend once told me that eating a perfect croquette felt like a small act of self-care, and I understood what she meant—there's something deeply satisfying about food that takes patience and attention to create. It's not complicated, but it demands respect for the process.
The Filling is the Heart
Everything about this croquette lives or dies by its filling. The beef needs to be cooked low and slow until it's tender enough to shred without resistance, the roux needs to be made with proper technique so there are no floury pockets, and the milk and broth need to combine into something that's truly silky, not gluey. This is why croquettes intimidate people—they seem to require a lot of steps, but each one exists because it solves a specific texture problem. Once you've made one batch and tasted the difference good technique makes, you'll never cut corners again.
Ahead of Time is Your Friend
One of the best things about croquettes is that you can make them days in advance, bread them, and freeze them in a flat layer. When you're ready to eat, you just fry them straight from frozen, adding a minute or two to the cooking time. I love making a batch on a Sunday afternoon and knowing I have crispy, homemade appetizers waiting whenever I need them. This makes croquettes surprisingly practical for entertaining, since the stress is removed from your cooking day—everything is prepped and ready.
Serving and Pairing
Croquettes are generous enough to stand alone but also play beautifully with other flavors and textures. The traditional pairing is with good mustard for dipping—something sharp and slightly sweet that cuts through the richness—and crispy, salted fries alongside. You could also serve them with a light salad, pickled vegetables, or even a small bowl of aioli. With a cold pilsner or pale lager, they become a moment worth lingering over, rather than something to rush through.
- Mustard is essential, not optional—it's the flavor that balances the richness of the filling.
- Serve them within minutes of frying for the best contrast between crispy shell and creamy center.
- A sprinkle of fleur de sel on top just after draining adds a sophisticated touch that simple salt never does.
 Save
Save Making croquettes is one of those cooking projects where the technique teaches you something about food and patience. There's no rush, no shortcuts that work, just honest cooking that rewards attention.
Recipe FAQs
- → What cut of beef is best for the filling?
Stewing cuts like chuck are ideal due to their tenderness after slow simmering, which creates a flavorful, soft ragout.
- → How is the creamy filling prepared?
The filling uses a roux made by cooking butter and flour, then adding broth and milk, forming a thick, creamy base mixed with shredded beef and seasonings.
- → Why is the filling chilled before shaping?
Chilling firms up the filling, making it easier to shape into croquettes and helping them hold their form during frying.
- → How can I achieve a crispy coating?
Double coating each croquette with flour, beaten eggs, and fine breadcrumbs ensures a golden, crunchy crust after frying.
- → What oil is recommended for frying?
Neutral oils with high smoke points like sunflower or canola oil work best for deep-frying the croquettes evenly.
- → Can croquettes be prepared in advance?
Yes, croquettes can be breaded and frozen, then fried from frozen adding a couple of extra minutes to the cooking time.