 Save
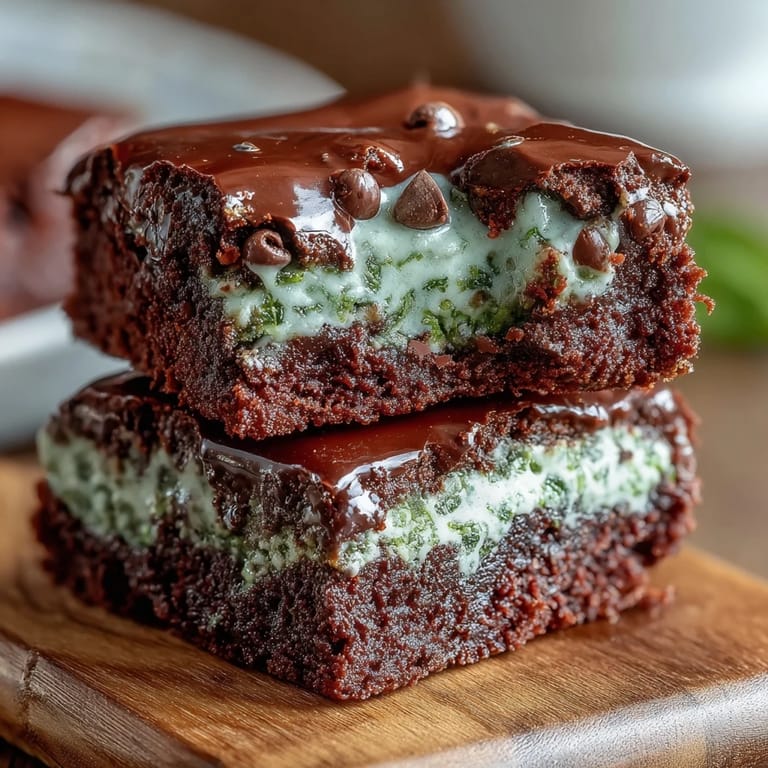
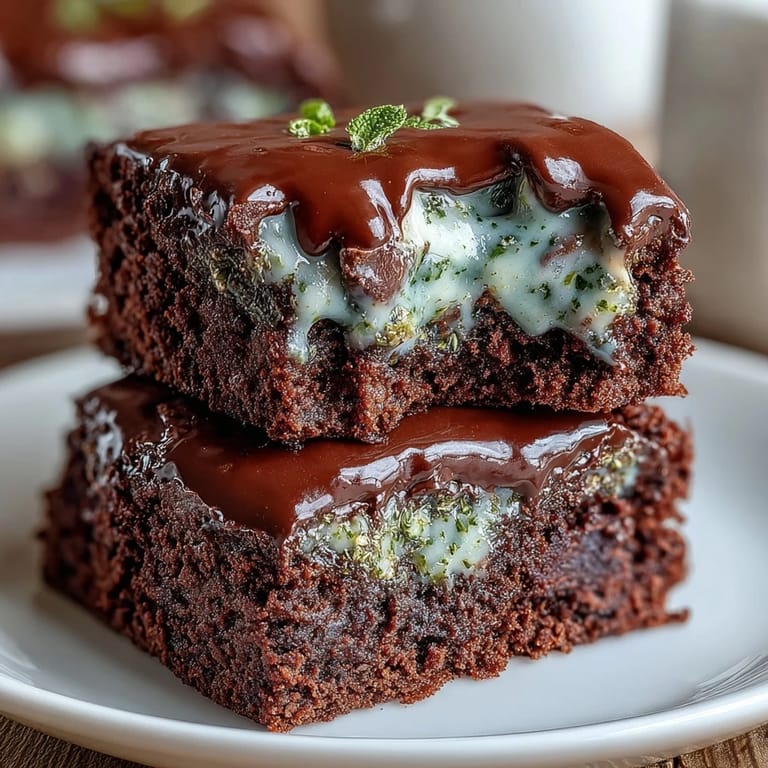
Save March seventeenth always sneaks up faster than expected, and last year I found myself staring at a bare kitchen counter wondering what to bring to my neighbor's potluck. The luck of the Irish, as they say, came in the form of these mint chocolate chip brownie bites—a hybrid creation born from combining my love of fudgy brownies with the festive green theme of the day. What started as a desperate afternoon baking session turned into something so good that people asked for the recipe before even finishing their first bite. These little brownie cups manage to be sophisticated enough for a dinner party yet simple enough that even a reluctant baker can pull them off. Now they're my go-to St. Patrick's Day offering, and honestly, I make them year-round when I need something that feels both indulgent and a little bit lucky.
I still remember my coworker Sarah's face when she bit into one of these for the first time at our office party. She closed her eyes like she was experiencing something magical, and then she reached for a second one before she'd even swallowed the first. That's the moment I realized these brownies transcended the typical holiday dessert category—they became the kind of thing people remember and talk about later. Making them for others transformed a simple recipe into a small act of generosity that somehow made my day feel less ordinary.
Ingredients
- All-purpose flour (3/4 cup): This is your structure—don't skip it or your bites will spread into a puddle, but don't overdo it either or they'll taste like cake instead of fudgy brownie.
- Unsweetened cocoa powder (1/2 cup): The real chocolate flavor lives here, so grab the good stuff and sift it if you can to avoid lumps.
- Baking powder (1/2 tsp): Just enough to give them a barely-there lift so they're not too dense, but not so much that they become cakey.
- Salt (1/4 tsp): This tiny amount makes the chocolate sing by balancing the sweetness in a way that feels almost imperceptible but completely necessary.
- Unsalted butter (1/2 cup, melted): The richness factor—melting it slightly before mixing creates that fudgy texture that makes people swoon.
- Granulated sugar (1 cup): Standard sweetness, though I've found using a mix of brown and white sugar adds another layer of flavor depth.
- Large eggs (2, room temperature): Temperature matters here because room temperature eggs mix more smoothly into the batter without creating little streaks.
- Pure vanilla extract (1/2 tsp): Use real vanilla, not the imitation kind—it makes a noticeable difference in the final taste.
- Peppermint extract (1/2 tsp): This is the secret weapon that makes these feel festive without tasting like toothpaste, but use restraint or you'll regret it.
- Green food coloring (2-3 drops, optional): More for visual celebration than anything essential, but it adds a festive wink if you're in the mood for it.
- Mini chocolate chips (1/2 cup plus more for topping): Mini size is crucial because they distribute better through the batter than standard chips, creating pockets of chocolate in every bite.
- Chopped Andes mints or mint chocolate pieces (1/4 cup, optional): These add texture and concentrated mint flavor, though I skip them sometimes when I want the chocolate to be the star.
Tired of Takeout? 🥡
Get 10 meals you can make faster than delivery arrives. Seriously.
One email. No spam. Unsubscribe anytime.
Instructions
- Heat your oven and prepare the pan:
- Set your oven to 350°F and grease a mini muffin tin with butter or cooking spray, or line it with those cute little paper liners if you have them. Having everything ready before you start mixing is the kind of simple habit that prevents scrambling five minutes in.
- Combine your dry ingredients:
- Whisk together the flour, cocoa powder, baking powder, and salt in a medium bowl, making sure there are no cocoa lumps lurking at the bottom. This little bit of prep work prevents streaks of dry cocoa powder from showing up in your final bites.
- Mix the wet base:
- In a large bowl, whisk the slightly cooled melted butter and sugar together until they're well combined and looking a bit lighter in color. Add your eggs one at a time, then the vanilla and peppermint extracts, whisking until everything is smooth and well incorporated. If you're using green food coloring, add it now and whisk until the color is even throughout.
- Fold everything together gently:
- Pour the dry mixture into the wet ingredients and fold gently with a spatula until just combined—you want to stop as soon as you don't see streaks of flour anymore. Overmixing toughens the batter, so resist the urge to blend it into submission.
- Add your chocolate and mint pieces:
- Stir in the mini chocolate chips and any chopped Andes mints you're using, making sure they're distributed throughout the batter. This is when your kitchen starts smelling impossibly good.
- Fill and finish:
- Spoon the batter into your prepared mini muffin tin, filling each cup about three-quarters full, then sprinkle a few extra chocolate chips on top of each one for visual appeal. The topping chips will get slightly melty and create these little chocolate crown moments.
- Bake until barely done:
- Bake for thirteen to fifteen minutes, checking around the thirteen-minute mark by inserting a toothpick into the center of one bite. You're looking for mostly clean with just a few moist crumbs clinging to the toothpick—this is the secret to keeping them fudgy instead of letting them bake into cakey dryness.
- Cool with patience:
- Let them rest in the tin for five minutes so they firm up enough to handle, then transfer them to a wire rack for complete cooling. Eating one while it's still warm is impossible to resist, so go ahead and indulge in the first one straight from the pan.
 Save
Save There's something almost magical about the moment when a room full of people discovers that your homemade brownies taste better than anything they could buy from a bakery. These bites became the kind of thing that changed how people see what's possible in a home kitchen. Now whenever I make them, I'm reminded that sometimes the best moments aren't about fancy ingredients or hours of work—they're about showing up with something made with intention.
The Mint and Chocolate Magic
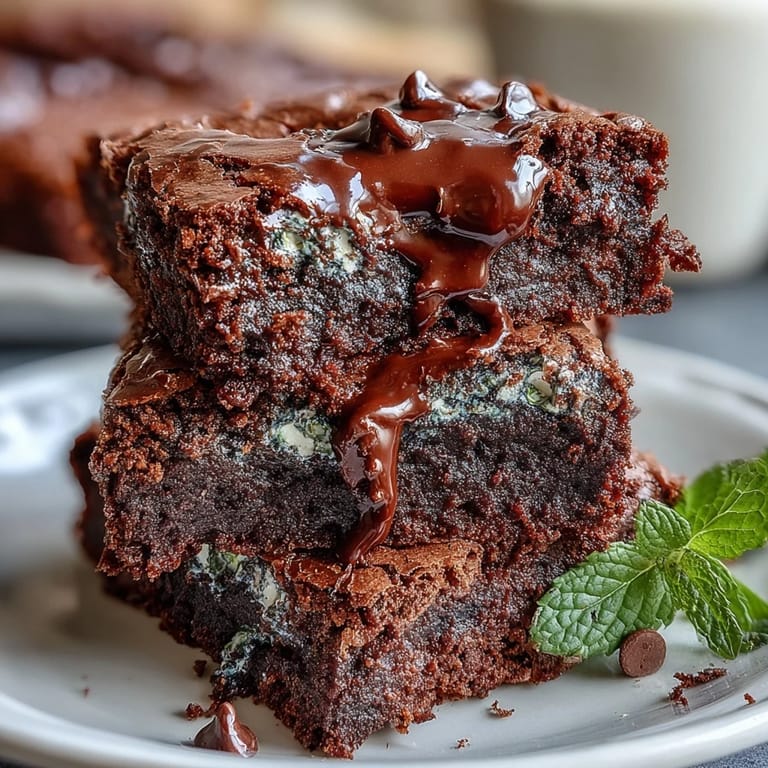
The pairing of mint and chocolate is a flavor combination that's been beloved for generations, but there's a reason it works so perfectly here. The cool brightness of peppermint cuts through the richness of the chocolate without overwhelming it, creating a balance that feels sophisticated but tastes like indulgence. I learned through trial and error that using extract instead of fresh mint keeps the texture perfect while delivering consistent flavor, and the mini chips ensure you get chocolate in every single bite instead of just scattered pieces.
Making Them Your Own
While the recipe as written is pretty close to perfect, there's room to make these reflect your own preferences and what you have on hand. Some people swap the peppermint extract for regular vanilla if they want less mint intensity, and that's absolutely valid. I've experimented with dark chocolate chips instead of semi-sweet, added a pinch of espresso powder to deepen the chocolate flavor, and even used crushed candy canes instead of Andes mints for a different texture.
Storage and Making Ahead
These brownies stay fresh in an airtight container for up to five days, though honestly they rarely last that long in my house. They're also excellent candidates for freezing if you want to prepare them ahead for a gathering—just bake them completely, cool them, pop them in a container with parchment between layers, and freeze for up to three weeks. Thawing them at room temperature for about thirty minutes before serving brings them back to that perfect fudgy texture.
- An airtight container keeps them moist and chewy for the full five days if you can resist eating them all immediately.
- Frozen brownie bites actually become little chocolate treasures that friends forget they have until they need a quick dessert.
- If you're bringing these to a party, transport them in a single layer in a container with a secure lid to prevent any brownie avalanches.
 Save
Save These mint chocolate chip brownie bites became my answer to the question of what to bring when you want to impress without looking like you spent hours in the kitchen. They're proof that sometimes the simplest recipes, made with intention and a little bit of care, create the moments that people actually remember.
Recipe FAQs
- → How can I enhance the mint flavor?
Increasing the peppermint extract slightly intensifies the mint, but use sparingly to avoid overpowering the chocolate.
- → Can I substitute Andes mints with something else?
Yes, you can replace Andes mints with other mint-flavored chocolates or omit them for a classic chocolate bite.
- → What baking tool is recommended for these bites?
A mini muffin tin or mini cupcake liners ensure uniform size and proper baking.
- → How should I store the brownie bites?
Keep them in an airtight container at room temperature for up to 5 days to maintain freshness.
- → What texture can I expect from these bites?
They offer a rich, fudgy texture complemented by bursts of chocolate chips and a refreshing mint note.