 Save
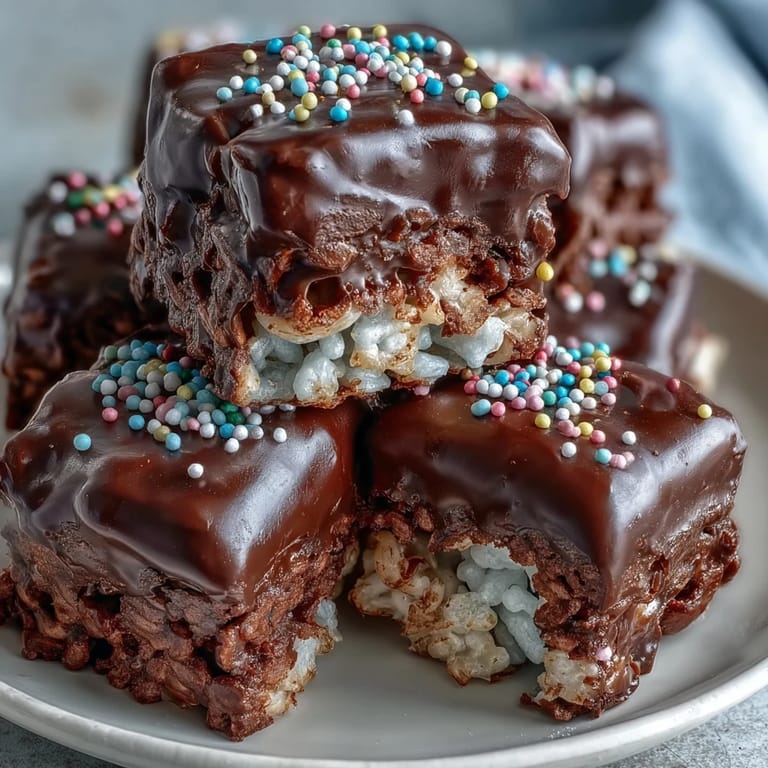
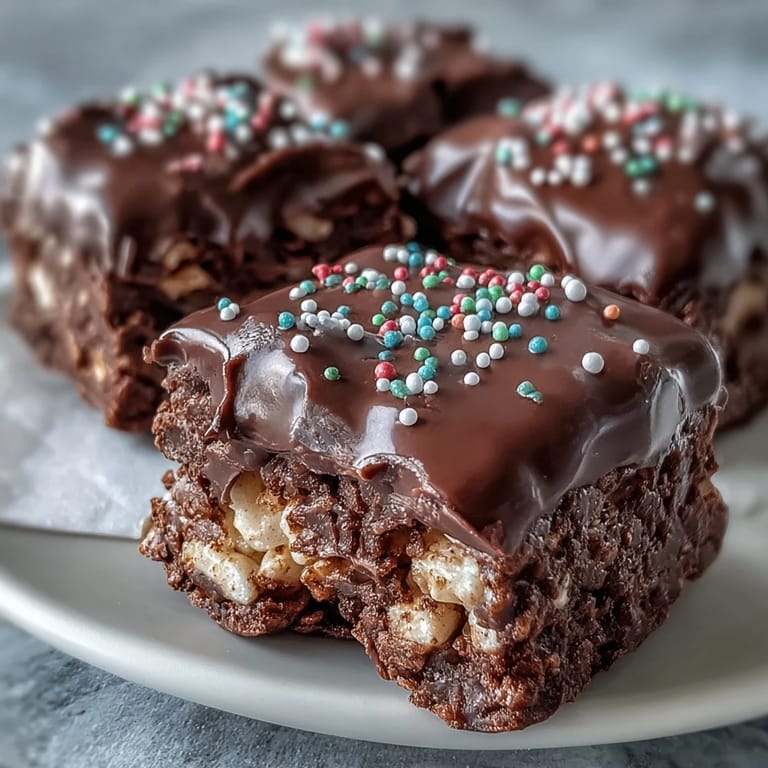
Save My sister showed up one afternoon with a tray of these tucked under her arm, and I couldn't stop at one. The snap of chocolate giving way to that sweet, airy crunch underneath felt like childhood and celebration all at once. I'd made plain Rice Krispy treats plenty of times, but adding that chocolate shell turned them into something people actually asked for by name. Now I keep the ingredients on hand because they disappear faster than anything else I bake.
I brought a batch to a book club meeting once, and three people asked for the recipe before we even started discussing the novel. One friend admitted she'd been intimidated by the idea of tempering chocolate, but when she saw how simple the oil trick made it, she tried them at home that weekend. There's something about the contrast between that glossy top and the humble cereal base that makes people curious and happy at the same time.
Ingredients
- Unsalted butter: Melts the marshmallows smoothly and adds richness without making the base greasy, plus a little extra for greasing keeps everything from sticking.
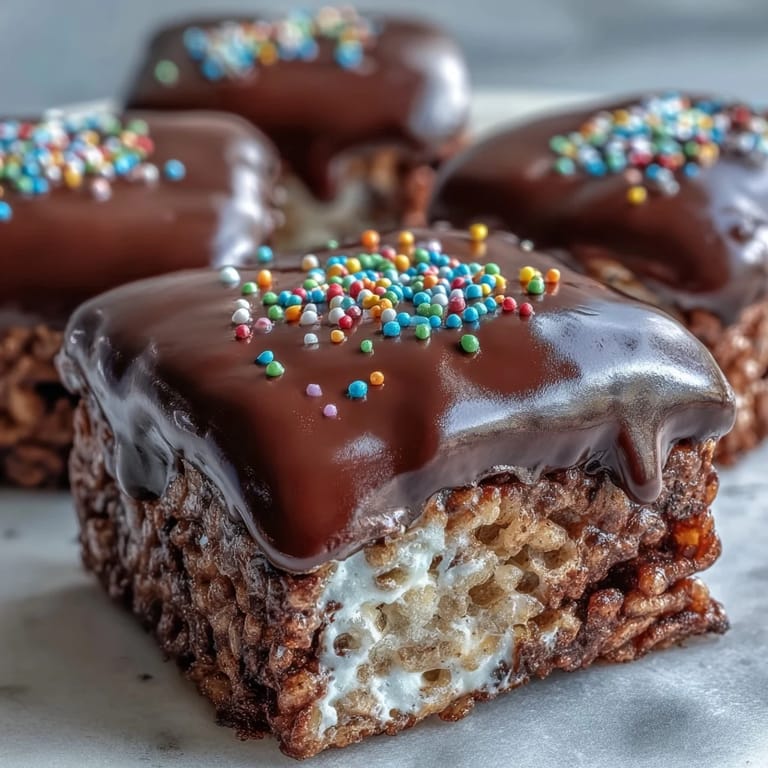
- Mini marshmallows: Melt faster and more evenly than the large ones, creating that stretchy, sweet binder that holds the cereal together.
- Rice Krispies cereal: The classic choice for that signature snap and light texture, though any puffed rice cereal works in a pinch.
- Fine sea salt: Just a pinch balances the sweetness and brings out the chocolate flavor without tasting salty.
- Semisweet or dark chocolate chips: Melts into a smooth, glossy coating that sets firm and snaps cleanly when you bite in.
- Vegetable oil or coconut oil: Thins the chocolate just enough to spread easily and gives it a beautiful shine once it hardens.
- Rainbow sprinkles or chopped nuts: Add color, crunch, and a festive touch that makes each bar feel a little more special.
Tired of Takeout? 🥡
Get 10 meals you can make faster than delivery arrives. Seriously.
One email. No spam. Unsubscribe anytime.
Instructions
- Prep the pan:
- Rub a thin layer of butter across the bottom and sides of your square pan so the treats release cleanly later. If you have parchment paper, line it now and leave a bit hanging over the edges for easy lifting.
- Melt the butter:
- Set your saucepan over low heat and add the butter, stirring gently until it's completely liquid and just starting to smell nutty. Don't rush this or it might brown and change the flavor.
- Melt the marshmallows:
- Toss in the mini marshmallows and keep stirring constantly until they collapse into a smooth, sticky pool with no lumps. The moment it's glossy and uniform, pull it off the heat.
- Season the mixture:
- Stir in the sea salt if you're using it, mixing until it disappears completely into the marshmallow.
- Fold in the cereal:
- Dump in the Rice Krispies and use a spatula to fold gently, coating every piece without crushing the puffs. Work quickly before the marshmallow starts to set.
- Press into the pan:
- Scrape the mixture into your prepared pan and use a buttered spatula or lightly greased hands to press it down evenly and firmly. Smooth the top as best you can.
- Let it rest:
- Leave the pan on the counter for about ten minutes so the base cools slightly and holds its shape.
- Melt the chocolate:
- Combine the chocolate chips and oil in a microwave safe bowl, then heat on medium power in thirty second bursts, stirring after each until the chocolate is silky and smooth. Don't overheat or it will seize.
- Pour and spread:
- Pour the melted chocolate over the cooled Rice Krispy layer and use an offset spatula or the back of a spoon to spread it into an even, glossy sheet. Work gently so you don't disturb the base.
- Add the garnish:
- Scatter sprinkles or chopped nuts over the wet chocolate right away, pressing them in lightly with your fingertips so they stick.
- Set the chocolate:
- Let the pan sit at room temperature for at least an hour until the chocolate is firm to the touch, or pop it in the fridge for twenty to thirty minutes if you're in a hurry.
- Cut into bars:
- Once the chocolate is set, lift the whole block out using the parchment overhang or carefully invert it onto a cutting board. Use a sharp knife to cut into twelve to sixteen bars, wiping the blade between cuts for clean edges.
 Save
Save One evening I made a double batch for a school fundraiser, and a mom I barely knew tracked me down the next week to tell me her son had auctioned off the last bar to his friends at lunch. That moment reminded me that food doesn't have to be complicated to make people feel something. Sometimes a little crunch, a little sweetness, and a lot of chocolate is exactly enough.
How to Store and Serve
I keep these in an airtight container on the counter for up to three days, and they stay crisp and snappy the whole time. If your kitchen runs warm or you want them to last longer, the fridge works beautifully for up to a week, though the chocolate may bloom slightly with tiny white streaks that don't affect the taste. Let them sit out for a few minutes before serving if they've been chilled, so the chocolate softens just enough to bite cleanly. I've also wrapped individual bars in wax paper and tucked them into lunchboxes, and they arrive intact and ready to trade.
Flavor Variations to Try
Swapping semisweet chocolate for white chocolate and using pastel sprinkles turns these into perfect spring or Easter treats. I've stirred a half teaspoon of vanilla extract into the melted marshmallows before adding the cereal, and it deepens the flavor just enough to notice. For a grown up twist, try dark chocolate with a sprinkle of flaky sea salt on top instead of rainbow sprinkles. One friend drizzles melted peanut butter over the chocolate layer before it sets, and the combination is dangerously good.
Troubleshooting and Tips
If your marshmallow mixture hardens before you finish folding in the cereal, put the pan back on low heat for just a few seconds and stir until it loosens up again. When the chocolate looks grainy or clumpy, it's likely overheated, so start fresh with new chips and lower your microwave power. I learned the hard way that skipping the oil makes the chocolate set dull and brittle, so don't skip that step even though it seems minor.
- Use a bench scraper or a pizza cutter for the cleanest, straightest cuts through the chocolate layer.
- If the bars stick to the pan, run a thin knife around the edges before lifting or inverting.
- Chill the finished bars for ten minutes before cutting if you want ultra sharp edges for photos or gifting.
 Save
Save These treats show up at every family gathering now, and I've stopped apologizing for how simple they are. People don't care about fancy techniques when something tastes this good and makes them smile.
Recipe FAQs
- → How long do chocolate covered Rice Krispy treats stay fresh?
Store in an airtight container at room temperature for up to 3 days, or refrigerate for up to a week. The chocolate may develop a slight bloom when chilled but remains perfectly delicious.
- → Can I use white chocolate instead of dark chocolate?
Absolutely. White chocolate works beautifully and creates a lovely contrast. Consider pairing with pastel sprinkles for a festive variation perfect for holidays or baby showers.
- → Why does my chocolate seize when melting?
Chocolate seizes when moisture gets into it. Always ensure your bowl and utensils are completely dry. Adding vegetable oil helps create a smooth, pourable consistency and prevents seizing.
- → Should I press the cereal mixture firmly or loosely?
Press firmly but gently into the pan. Too light and the bars will crumble; too hard and they become dense. A buttered spatula or hands work best for even distribution.
- → Can I make these ahead for a party?
These are perfect for prep. Make them 1–2 days in advance, store at room temperature, and cut just before serving. The chocolate coating keeps them fresh and prevents staleness.