Save
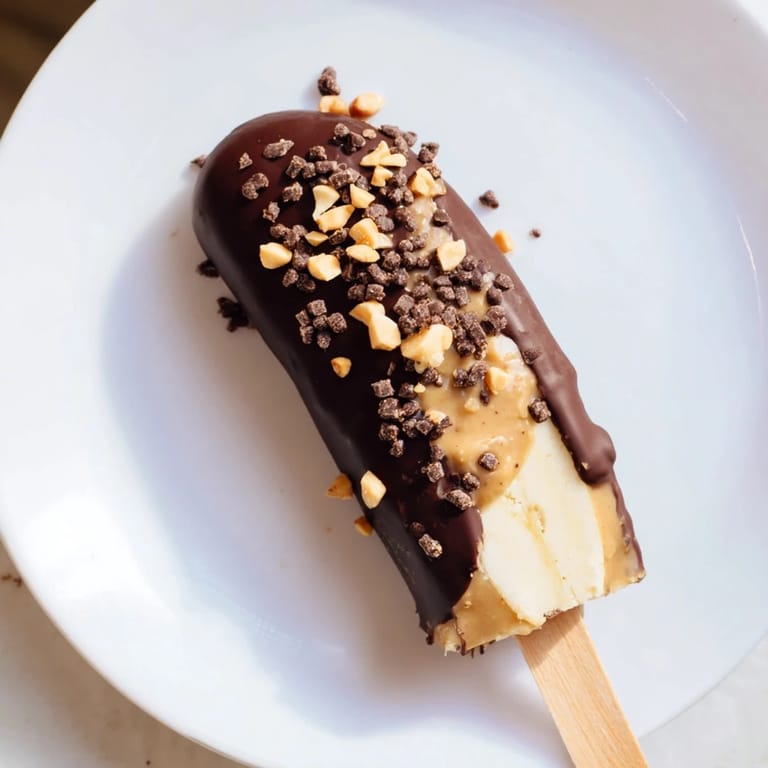
Save My daughter came home from a birthday party absolutely buzzing about the frozen banana pops they'd served, and honestly, I was skeptical until I tasted one. The combination of creamy peanut butter sandwiched between sweet banana and dark chocolate hit me differently than I expected—it felt like childhood nostalgia wrapped in something actually sophisticated. That evening, I raided our freezer for bananas and a jar of peanut butter, and what started as a simple experiment became the treat I've made dozens of times since. There's something magical about how three humble ingredients transform into something that tastes like summer and feels like self-care at the same time.
I made these for a neighborhood potluck last summer when it was sweltering, and they disappeared faster than anything else on the dessert table. A woman I'd never met before came back for seconds and asked for the recipe, and we ended up talking for twenty minutes about frozen treats and kid-friendly snacks. That's when I realized these weren't just good—they were the kind of thing that actually brings people together, which sounds dramatic for a banana dipped in chocolate, but it's true.
Ingredients
- 4 medium ripe bananas: Look for ones that are golden with a few brown speckles; they'll be sweet enough without tasting starchy or bland.
- 8 tablespoons creamy peanut butter: Use the good stuff—natural or conventional, whichever you prefer, but avoid the overly thick varieties that won't spread smoothly when frozen.
- 200 g dark or milk chocolate, chopped: Chop it into small pieces so it melts evenly and quickly, and choose chocolate you actually enjoy eating since it's doing most of the flavor work here.
- ¼ cup chopped roasted peanuts: The crunch is essential; it plays against the creamy center in a way that makes each bite more interesting.
- ¼ cup shredded coconut, ¼ cup mini chocolate chips, ¼ cup sprinkles: These are optional but honestly, the toppings are what make them fun—choose whatever makes you happy.
Tired of Takeout? 🥡
Get 10 meals you can make faster than delivery arrives. Seriously.
One email. No spam. Unsubscribe anytime.
Instructions
- Prep your bananas:
- Peel the bananas and cut each one in half crosswise, then push a wooden popsicle stick firmly into the cut end of each half until it feels secure. If the banana crumbles, you can freeze the halves first for 10 minutes before inserting the stick.
- First freeze:
- Lay the banana pops on a parchment-lined tray and slide them into the freezer for about an hour until they're completely firm to the touch. This base freeze matters more than you'd think.
- Add the peanut butter layer:
- Spread one tablespoon of peanut butter over each frozen banana half, using a small spatula or butter knife to smooth it evenly on all sides. Work fairly quickly since the banana will start to thaw if you dawdle.
- Second freeze:
- Pop the peanut butter–coated bananas back into the freezer for 15 minutes so the peanut butter layer sets properly and won't slide off when you dip them in chocolate.
- Melt your chocolate:
- Use a double boiler or the microwave—melt the chopped chocolate in 30-second intervals, stirring between each one until it's smooth and glossy. Either method works fine as long as you don't let it overheat and seize up.
- The chocolate dip:
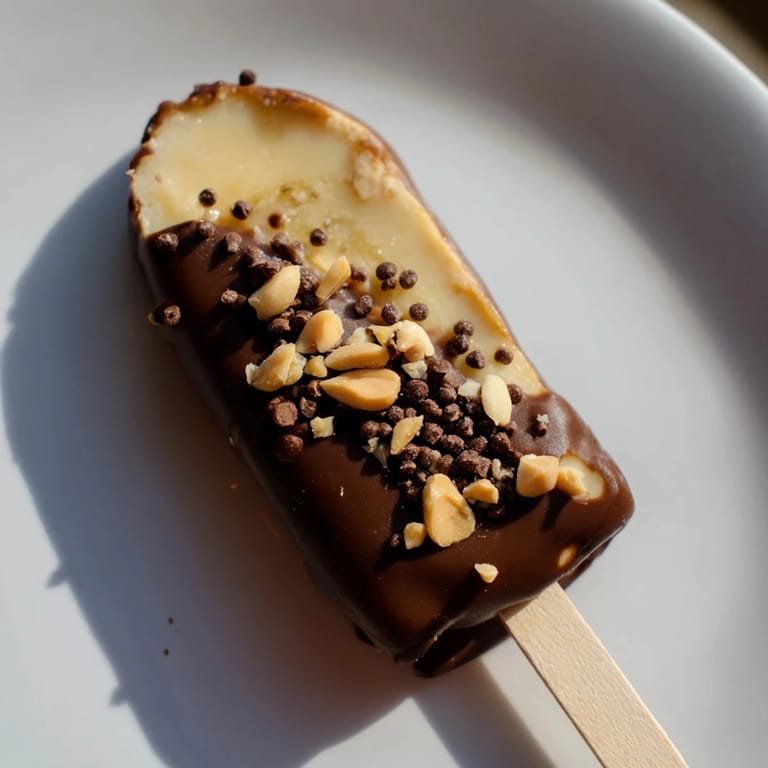
- Working quickly, dip each frozen pop into the melted chocolate, rotating it gently until it's completely coated, then let the excess drip off for a few seconds. If the chocolate starts to thicken and drag, gently reheat it for 15 seconds.
- Top it immediately:
- Before the chocolate has a chance to set, sprinkle your chosen toppings over the still-warm coating so they stick rather than slide off. This is the moment where you can be creative or chaotic, depending on your mood.
- Final freeze:
- Set the finished pops back on the parchment and freeze for at least an hour until the chocolate coating is completely hardened and the pops are solid again.
 Save
Save My son once insisted on making these with me when he was sick and stuck at home, and we turned it into a whole afternoon project, testing different topping combinations and trying to dip them without laughing when the chocolate got everywhere. It wasn't about the pops themselves anymore—it was about having permission to be silly together in the kitchen without rushing. Now whenever he sees me make them, he still asks to help, and that's become the real reason I keep making these.
Finding Your Perfect Toppings
The beauty of these pops is that the base is flexible enough to let toppings shine without overwhelming the banana and peanut butter. I've tried everything from crushed pretzels to toasted granola to finely chopped dark chocolate, and each version teaches you something different about what actually appeals to your palate. Don't feel locked into the suggestions—some people layer their toppings, others keep it minimal, and both approaches are equally valid depending on what you're craving.
Storage and Serving
These keep beautifully in the freezer for up to a week in an airtight container, which means you can actually plan ahead and have them ready when you need a quick dessert or a gift someone will be genuinely excited about. They thaw quickly, so pull them out a minute or two before eating if they feel rock-hard, or eat them straight from the freezer if you prefer something that numbs your mouth a little.
Why These Work for Everyone
The best part about making these is watching different people enjoy them—toddlers love the stick, teenagers devour them in two bites, adults get genuinely thoughtful about the flavor combinations. They're naturally gluten-free and can be made nut-free in seconds by swapping sunflower seed butter in, so you're rarely stuck saying no to someone.
- Keep wooden sticks in your freezer so you can make these on a whim when the weather turns hot.
- If you're gifting these, wrap them individually in parchment paper so they don't stick together.
- These are surprisingly elegant plated on a simple board at a dinner party, which catches people off guard in the best way.
 Save
Save These pops have become my answer to the question of what to make when you want something simple but memorable. Whenever someone asks for the recipe, I know they're going to make it and love it, which is exactly the kind of recipe worth keeping close.
Recipe FAQs
- → How do I prevent bananas from browning before freezing?
Peel and cut the bananas just before assembling the pops, then place them immediately in the freezer to keep their fresh color and texture.
- → What are good alternatives to peanut butter?
Sunflower seed butter works well as a nut-free alternative, providing a similar creamy texture and flavor balance.
- → Can I use different types of chocolate?
Yes, dark, milk, or white chocolate can be melted and used as the coating, offering variations in sweetness and richness.
- → How long should the pops be frozen after coating?
Freeze the chocolate-coated pops for at least one hour to ensure the chocolate is fully set and the pops are firm.
- → What toppings work best on these frozen pops?
Crunchy toppings like chopped roasted peanuts, shredded coconut, mini chocolate chips, or colorful sprinkles add texture and visual appeal.
- → Can these pops be stored for later consumption?
Store in an airtight container in the freezer and enjoy within one week to maintain freshness and texture.