 Save
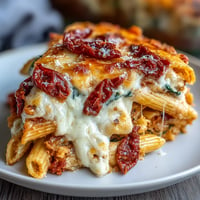
Save The first time I saw a honeycomb pasta bake on a cooking show, I actually laughed out loud. Who stands pasta tubes upright and fills them one by one? But then my sister asked me to bring something impressive to her birthday dinner, and suddenly I was piping cheese into rigatoni at midnight. The look on everyone faces when I sliced into that springform pan made every fussy minute worth it.
I made this for a potluck last winter and watched three different people ask for the recipe before they even took their second bite. Something about the honeycomb pattern makes people assume it is complicated or fancy, but really it is just patience and good ingredients. My friend Sam still messages me every few months asking when I will make it again.
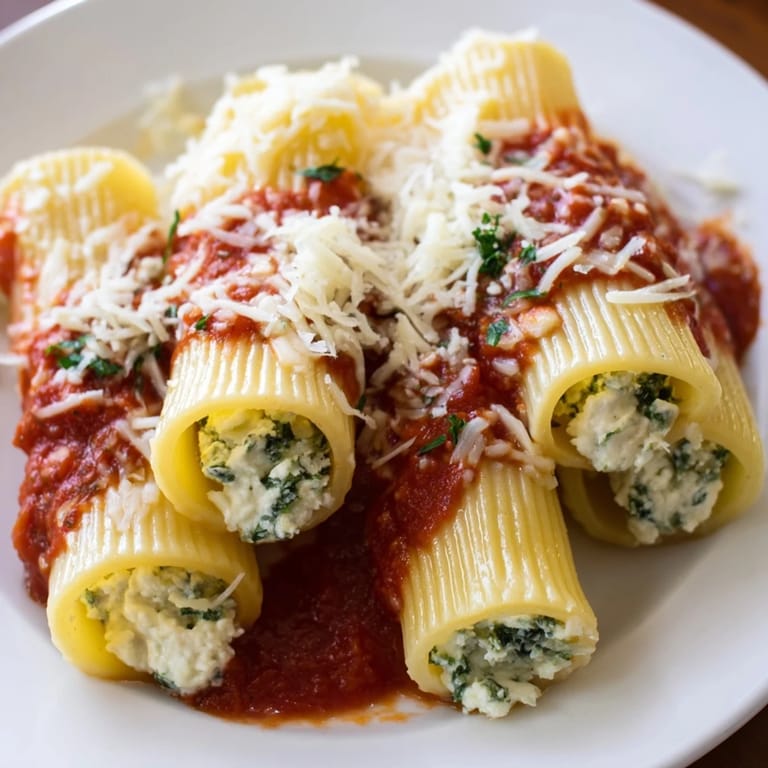
- Rigatoni: The straight ridged tubes are essential here because they stand up evenly and the sauce clings to the ridges. Do not substitute with bent or curved pasta shapes.
- Ricotta cheese: This creates the creamy base of the filling. Whole milk ricotta gives the best texture, but part skim works if that is what you can find.
- Mozzarella (grated and shredded): Using it two ways means gooey melted pockets inside and that golden bubbly crust on top. Grate your own from a block if you can for better melting.
- Parmesan cheese: Adds that salty, umami depth that balances the mild ricotta. Buy a wedge and grate it fresh rather than using the pre-grated stuff in a tub.
- Egg: This binds the filling together so it does not ooze out during baking. Bring it to room temperature first so it incorporates smoothly.
- Fresh basil and parsley: These bright herbs cut through the richness of all that cheese. Do not skip them or substitute with dried herbs.
- Marinara sauce: Use your favorite jarred brand or homemade. Just avoid chunky vegetable sauces that might not settle well between the pasta tubes.
- Olive oil: Prevents the pasta from sticking together and helps the springform pan release cleanly. A good quality extra virgin makes a difference.
- Prep your pan and preheat:
- Set your oven to 200°C (400°F) and grease a 23 cm springform pan with olive oil. Cut a circle of parchment paper for the bottom so the pasta does not stick.
- Cook the pasta:
- Boil the rigatoni for 2 minutes less than the package says, then drain and toss with olive oil. They need to be firm because they will cook more in the oven.
- Make the filling:
- Mix ricotta, grated mozzarella, Parmesan, egg, basil, parsley, salt, and pepper until completely smooth. Taste it and adjust the seasoning if needed.
- Build the honeycomb:
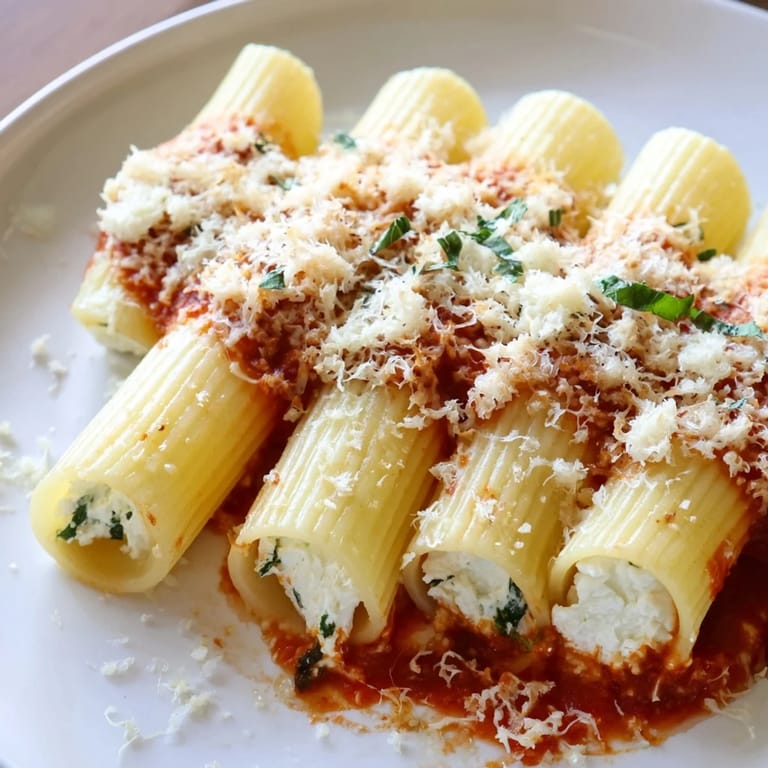
- Stand the rigatoni upright in your pan, packed tightly enough that they support each other. Take your time with this step because neat rows will look better when sliced.
- Fill the tubes:
- Spoon the cheese mixture into a piping bag or plastic bag with the corner cut off. Gently pipe filling into each tube, working slowly so the cheese settles to the bottom.
- Add the sauce:
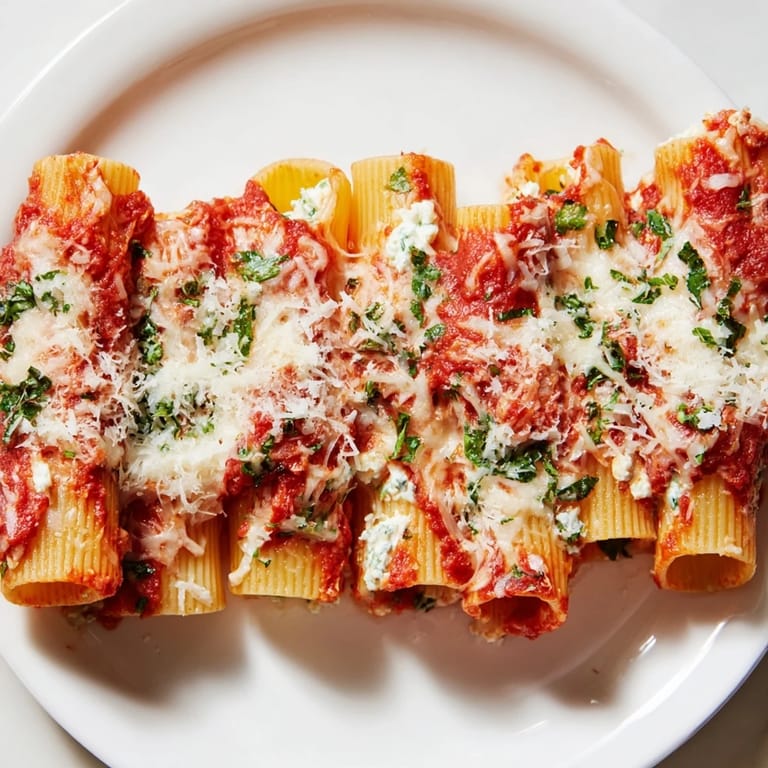
- Pour the marinara over the top and tap the pan firmly on the counter. This helps the sauce drip down between all the tubes instead of sitting on top.
- Top with cheese:
- Sprinkle the shredded mozzarella and extra Parmesan over everything. More cheese is always the right decision.
- Bake covered:
- Cover loosely with foil and bake for 25 minutes. The foil keeps the pasta from drying out while everything heats through.
- Get the golden crust:
- Remove the foil and bake another 10 minutes until the cheese is bubbly and browned in spots. Watch it closely because cheese can go from golden to burnt quickly.
- Rest before slicing:
- Let the pan cool for 10 minutes. This is not optional because the filling needs time to set so it does not spill out when you cut it.
 Save
Save Tired of Takeout? 🥡
Get 10 meals you can make faster than delivery arrives. Seriously.
One email. No spam. Unsubscribe anytime.
This recipe has become my go-to for new neighbors and potluck dinners because it travels well and reheats beautifully. Last week I made two pans and froze one unbaked for later. The kind of comfort food that makes people feel taken care of.
The cheese filling is incredibly forgiving. I have added sautéed spinach, sun-dried tomatoes, and even crumbled cooked Italian sausage to the ricotta mixture. Just keep the proportions similar so the filling still pipes easily into the pasta tubes.
A simple green salad with bright vinaigrette cuts through the richness perfectly. Crusty bread is never a bad idea for soaking up extra sauce. For drinks, a medium-bodied red wine like Chianti or even a cold beer works surprisingly well.
You can assemble the entire bake up to 24 hours ahead, cover tightly, and refrigerate before baking. Add a few extra minutes to the covered baking time if baking cold from the fridge. Leftovers keep for 3 days in the refrigerator and reheat in the microwave without losing texture.
- Freeze unbaked for up to 2 months, thaw overnight in the refrigerator before baking
- Wrap the springform pan in plastic wrap first, then foil for freezer storage
- Individual slices reheat beautifully in a toaster oven at 180°C (350°F) for about 15 minutes
 Save
Save There is something deeply satisfying about food that looks impressive but tastes like home. Hope this brings as much joy to your table as it has to mine.
Recipe FAQs
- → How do you ensure the pasta remains firm after baking?
Cooking rigatoni al dente and filling it upright helps maintain structure and prevents over-softening during baking.
- → Can I add other ingredients to the cheese filling?
Sautéed spinach or cooked Italian sausage can be folded into the cheese mix for added flavor and texture.
- → What is the best way to arrange the pasta tubes in the pan?
Stand rigatoni upright, packed tightly side by side to create the signature honeycomb pattern and ensure even baking.
- → How should leftovers be stored?
Cover and refrigerate within two hours, and reheat gently in the oven to retain texture and flavor.
- → What type of cheese blend works best in the filling?
A combination of ricotta, mozzarella, Parmesan, and a touch of seasoning creates a creamy and flavorful filling.